Painting a room can be exciting, but it often turns into a frustrating mess if you’re not careful. Whether you’re a first-time DIYer or someone who’s been through a few home improvement projects, you know that splatters, smudges, and ruined furniture are all too common. That’s why interior house painters always recommend a solid prep strategy. If you want to steer clear of chaos and avoid painting mess, you’re in the right place.
Key Takeaways:
- Prep is everything: Clean, cover, and tape before you open a paint can.
- Use the right tools: Quality brushes and rollers make a big difference.
- Work smart: Use techniques that minimize drips and splatters.
- Clean up as you go: Stay on top of spills to avoid lasting damage.
- When in doubt, hire professionals.
Why Does Painting Get So Messy?
Before we dive into the how-to, let’s look at why painting a room can get so out of hand. A lot of people underestimate the prep work. They figure, “It’s just paint—how bad can it be?” The answer: very bad, very quickly. Paint is runny. It drips. It flicks off rollers. And it sticks to everything. The floor, your furniture, your clothes, and even your pet (if they sneak in unnoticed).
That’s why professionals emphasize prep and planning as the first (and maybe most important) step.
Step 1: Clear and Clean the Room
You can’t paint around clutter. Move as much furniture as possible out of the room. If you can’t move it out, push it to the center and cover it with a heavy-duty drop cloth or plastic sheeting.
Then, clean the walls. Dust, spider webs, grease—if it’s on the wall, paint won’t stick well. Use a damp sponge and a little mild detergent to wipe everything down.
Step 2: Tape Like a Pro
Painter’s tape is your best friend if you want clean edges and no smudges on trim or ceiling. Apply tape along baseboards, around windows and doors, and anywhere you need a crisp line.
Pro tip: Run a putty knife over the tape to make sure it’s sealed tight. That stops paint from bleeding underneath.
Step 3: Cover Your Floors and Fixtures
Even the neatest painters can’t avoid drips. Use canvas drop cloths instead of plastic ones—they’re less slippery and they absorb paint rather than letting it puddle. Cover light switches, outlets, and light fixtures with plastic and painter’s tape.
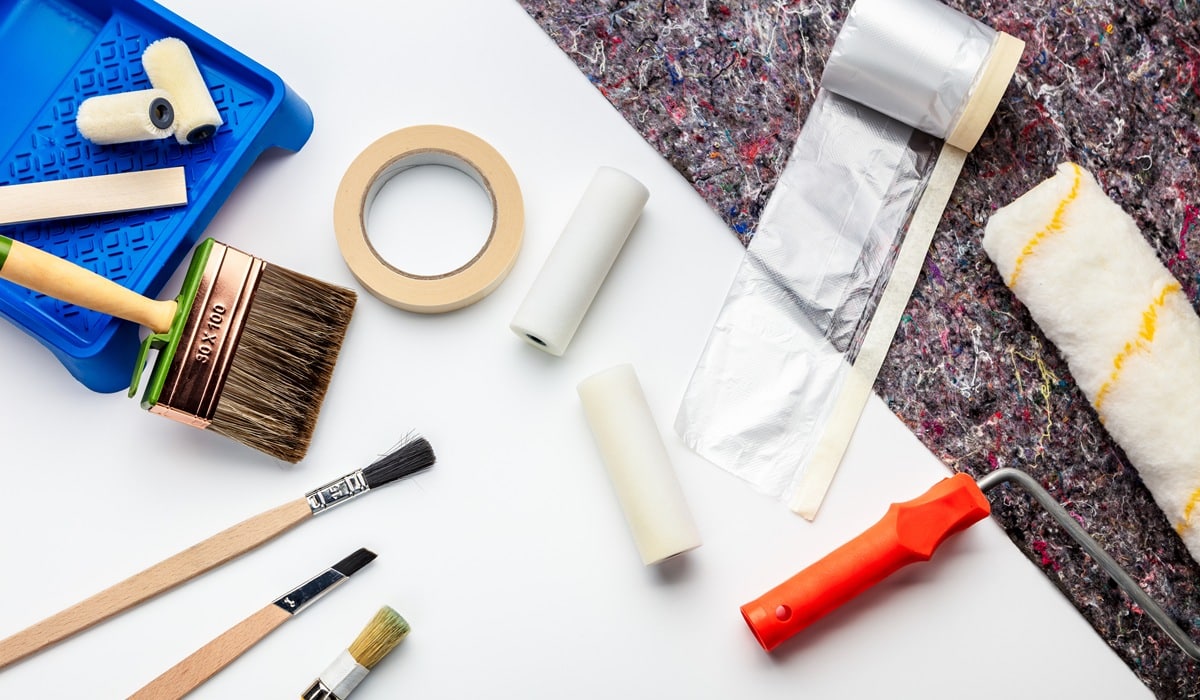
Step 4: Choose the Right Tools
Cheap brushes shed bristles and low-quality rollers leave lint in your paint. Invest in decent supplies:
- Angled brush for edges
- High-density roller for large areas
- Extension pole to reach high spots without a ladder
- Paint tray with liners
Also, consider using a paint guard when cutting in around trim and ceiling edges.
Step 5: Use Proper Painting Techniques
Here’s where many DIYers go wrong. They overload the roller, paint too fast, or don’t maintain a wet edge. All of this leads to drips, streaks, and uneven coverage.
Follow these techniques:
- Roll in a “W” pattern and fill in the gaps.
- Don’t dip the roller too deep into the tray.
- Always start at the top of the wall and work your way down.
- Feather out edges to blend with the previous section.
Taking your time and being methodical helps you avoid painting mess like splatters and roller lines.
Step 6: Clean Up As You Go
Don’t wait until the end to start cleaning. Wipe up any spills immediately. Rinse your brushes and rollers if you’re taking a long break. Seal your paint cans between coats to keep the paint from drying out.
Have a damp rag and a scraper handy to deal with accidents on the floor or trim.
Step 7: Let It Dry — Then Touch Up
Once the walls are painted, resist the urge to move everything back in right away. Let the paint dry for at least 24 hours. Then, check for missed spots or light areas and touch up as needed.
Also, slowly remove your painter’s tape at a 45-degree angle while the paint is still slightly tacky for the cleanest lines.

When to Call the Pros
Some rooms are just too tricky—vaulted ceilings, textured walls, or extensive trim work can make DIY painting a nightmare. That’s where interior house painters earn their stripes.
Hiring a pro means:
- Faster results
- No cleanup stress
- Expert-level finishes
- Help choosing the right colors and finishes
If your time is limited or you just want it done right, this is the way to go.
Common Mistakes to Avoid
Let’s finish with a list of painting don’ts:
- Don’t skip taping — even if you’re confident
- Don’t use old paint or expired supplies
- Don’t paint in a humid or dusty environment
- Don’t rush the drying process
- Don’t skip the second coat
Every one of these missteps can lead to a mess you’ll regret.
Final Thoughts
Painting a room doesn’t have to be a disaster. With the right prep, tools, and mindset, you can absolutely avoid painting mess and enjoy the process. But if you’re short on time or want that flawless finish, don’t hesitate to bring in the pros. Trust us—your walls (and your sanity) will thank you.
Want a clean, professional paint job without lifting a finger? Contact West Rivers Painting today at 541-419-3912. Our expert interior house painters are ready to make your vision a reality.
