You’re standing in your living room, staring at that dingy wall, and you know it needs a fresh coat of paint. But when you think about interior house painters and their rates, you wonder if you could handle the prep work yourself. The truth is, you can prep wall for painting fast—in less than an hour—and save yourself hundreds of dollars in the process.
Most homeowners waste hours on wall prep because they skip basic steps or use the wrong approach. You end up frustrated, covered in dust, and wondering if you should’ve just hired professionals from the start.
Here’s what makes fast wall prep possible: the right tools, a simple system, and knowing which corners you can actually cut without ruining your paint job.
Key Takeaways:
- Wall prep takes 30-60 minutes when you follow a proven system and have the right tools ready.
- Skip these steps and your paint will fail within months, showing bubbles, peeling, or uneven coverage.
- Five specific tools make the difference between amateur results and professional-quality prep.
- Surface condition determines your approach—smooth walls need different prep than damaged ones.
- Temperature and humidity matter—ideal conditions are 50-85°F with humidity below 70%.
What Makes Wall Prep Take So Long (And How to Speed It Up)
You don’t need to spend half your weekend prepping walls. Professional painters work fast because they skip the busywork and focus on what actually matters.
The typical homeowner spends three to four hours prepping a single room. That’s because they start cleaning without inspecting, repair damage they can’t see yet, and sand surfaces that don’t need it.
Here’s the real time breakdown:
- Inspection and planning: 5 minutes
- Cleaning the surface: 15-20 minutes
- Repairs (minor): 20-30 minutes
- Final prep: 10-15 minutes
When you prep wall for painting fast, you’re making smart choices about which steps deserve your time. You’re not cutting corners—you’re eliminating wasted motion.
The Five Tools You Actually Need
Walk into any hardware store and you’ll find dozens of “essential” wall prep products. Most of them sit in your garage unused after the first project.
These five tools handle 95% of wall prep situations:
- TSP cleaner or sugar soap. This degreaser removes the invisible film that makes paint fail. Kitchen and bathroom walls collect cooking oils, hairspray, and body oils that water alone won’t touch. One gallon of TSP solution costs about $8 and cleans an entire house. Mix it according to package directions, wipe your walls down, then rinse with clean water.
- Putty knife (3-inch and 6-inch). The 3-inch knife handles nail holes and small cracks. The 6-inch knife spreads spackle smoothly across larger damaged areas. Quality knives with flexible blades cost $5-10 each and last for years. Cheap knives leave lines and ridges that show through your paint.
- Lightweight spackle. This pink paste turns white when it’s dry and ready to sand. It shrinks less than standard spackle, which means you fill holes once instead of three times. A one-pound tub costs around $5 and handles dozens of repairs.
- Medium-grit sanding sponge. These flexible sponges conform to your wall’s surface better than sandpaper. They’re perfect for smoothing spackle and scuffing glossy paint. The medium grit (100-120) balances speed with finish quality. A two-pack costs about $6.
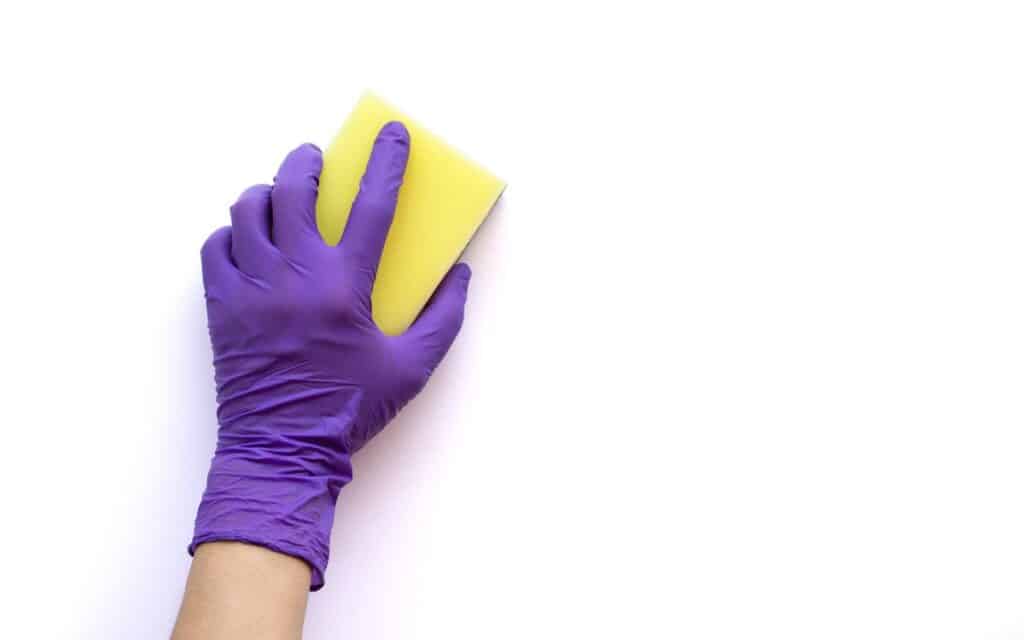
- Microfiber cleaning cloths. These pick up sanding dust without leaving lint behind. Paper towels and old rags push dust around or leave fibers that get trapped in your paint. A package of six cloths costs $10 and lasts through multiple projects.
Notice what’s not on this list? Power sanders, expensive primers, and specialty cleaning products. You don’t need them for standard wall prep.
The Four-Step System That Saves Hours
Professional painters prep wall for painting fast because they follow a system. No wasted steps. No backtracking. No wondering what comes next.
Step 1: Clean From Top to Bottom (15 Minutes)
Start at the ceiling line and work your way down. This simple change stops you from cleaning the same area twice when dust and dirt fall from above.
Mix your TSP cleaner in a bucket according to the package directions. Dip your cloth, wring it out well, and wipe the wall in overlapping horizontal strokes. Work in sections about three feet wide.
Why this matters: Paint needs a clean surface to bond properly. Any grease, dust, or residue creates a barrier between your wall and your new paint. Surface contamination can lead to premature paint failure.
After cleaning with TSP, go over the wall again with clean water to remove cleaner residue. Let the wall dry completely before moving to the next step. Point a fan at the wall to speed drying time.
Step 2: Inspect and Mark Damage (5 Minutes)
Turn on every light in the room and hold a flashlight parallel to your wall. This technique, called “raking light,” reveals imperfections you can’t see in normal lighting.
Mark every nail hole, crack, and damaged area with a light pencil mark. You’ll spot:
- Nail holes from removed picture frames
- Hairline cracks in drywall joints
- Dings and dents from furniture
- Rough patches where old repairs were made
This quick inspection prevents the frustrating discovery of problems after you’ve started painting. You’ll know exactly what needs fixing before you open your spackle.
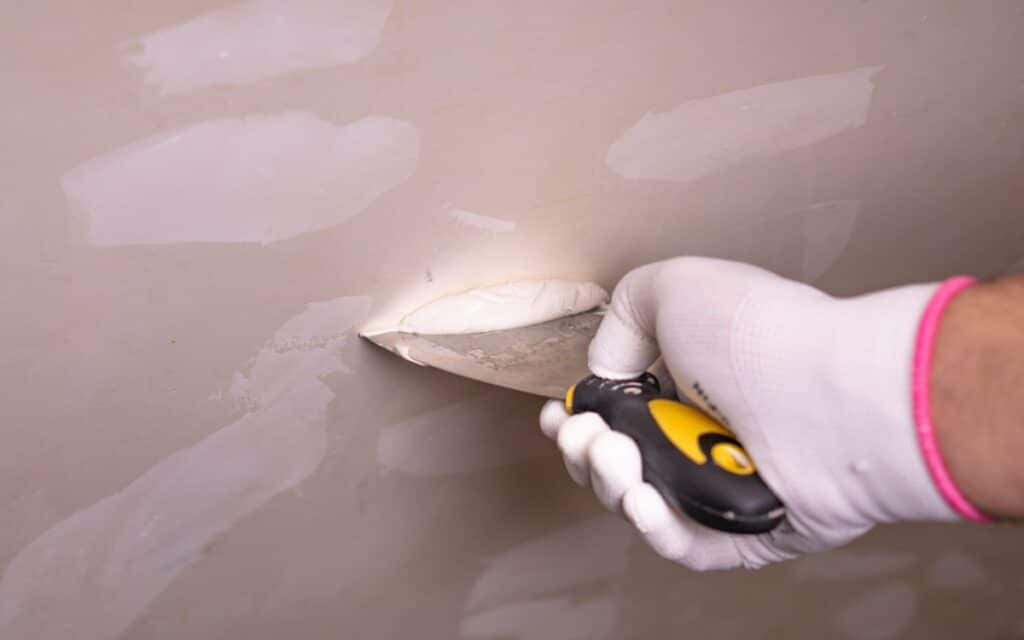
Step 3: Repair Surface Damage (20-30 Minutes)
Load your 3-inch putty knife with spackle and press it into each nail hole or small crack. Scrape off the excess in one smooth motion, leaving the hole slightly overfilled. The spackle will shrink as it dries.
For larger damaged areas, use your 6-inch knife to apply a thin coat across the entire section. Multiple thin coats always beat one thick coat. Thick spackle cracks as it dries, forcing you to start over.
The pink spackle saves time because you don’t need to guess if it’s dry. When the pink disappears completely, it’s ready to sand. This typically takes 15-30 minutes depending on humidity and temperature.
Properly filled and sanded repairs are invisible under two coats of quality paint. Rushed repairs show through even premium paint products.
Step 4: Sand and Final Wipe (10-15 Minutes)
Once your spackle is completely white, sand each repair with your medium-grit sponge. Use light circular motions and check your work frequently by running your hand over the area. The repair should feel flush with the surrounding wall.
Don’t over-sand. You’re smoothing the spackle, not creating a depression. Two or three passes with your sponge usually gets the job done.
After sanding all repairs, wipe the entire wall with a barely damp microfiber cloth to remove all dust. Pay special attention to the baseboard area where dust accumulates.
The Mistakes That Add Hours to Your Prep Time
You can prep wall for painting fast, but only if you avoid the time-wasters that slow down most DIY projects.
- Using the wrong spackle. Heavy, traditional spackle takes hours to dry and often cracks in nail holes. Lightweight spackle dries in minutes and shrinks less. The pink variety removes the guesswork about dry time.
- Skipping the cleaning step. This might seem like a time-saver, but it costs you later. Paint that’s applied over dirty walls starts peeling within months. You’ll spend far more time repainting than you saved by skipping the cleaning.
- Over-sanding repairs. More isn’t better when it comes to sanding. You want repairs level with your wall, not recessed below the surface. Over-sanding creates new problems that require additional spackle and more waiting time.
- Prepping in poor conditions. Temperature and humidity directly affect how fast spackle dries. Work in a room that’s between 50-85°F with humidity below 70%. Outside these ranges, drying times increase dramatically.
- Using worn-out tools. A putty knife with a bent blade leaves ridges. Old sponges don’t sand evenly. Dirty cloths spread dust instead of collecting it. Quality tools cost a few extra dollars but save hours of fix-it work.
When to Call Interior House Painters Instead
Some wall conditions need professional attention. You can’t prep wall for painting fast when you’re dealing with:
- Major water damage. Brown stains, soft spots, or bubbling paint indicate moisture problems that need proper repair before painting. Painting over water damage traps moisture and leads to mold growth.
- Extensive cracking. A few hairline cracks are normal. Widespread cracking, especially in patterns, suggests foundation settling or structural problems. These need evaluation before cosmetic work.
- Lead paint. Homes built before 1978 often contain lead paint. Disturbing lead paint without proper precautions creates serious health risks. Professional interior house painters have the training and equipment to handle lead paint safely.
- Textured walls needing smoothing. Removing texture and creating a smooth finish is a skilled job that requires special tools and techniques. Most DIYers end up creating more texture problems than they solve.
- Large damaged areas. Holes bigger than a baseball, large dents, or damaged drywall sections need professional patching. These repairs require specific skills and materials that most homeowners don’t have.
For extensive damage, professional wall repair and prep will protect you from costly mistakes and ensure quality results.
Getting Your Wall Ready for Paint
You’ve cleaned your walls thoroughly, repaired every imperfection, and sanded everything smooth. Your wall is now ready for paint.
Before you start rolling, do a final quality check. Run your hand across the entire wall surface, feeling for rough spots or raised areas. Look at the wall from different angles in various lighting conditions. Any imperfection you see now will be twice as obvious after painting.
The hour you invested in proper prep work means your paint will go on smoothly, look better, and last for years. You’ve eliminated the problems that cause most DIY paint jobs to fail.
Professional results don’t require professional experience. They require the right system, the right tools, and respect for the process.
Ready to Transform Your Space?
You now have the knowledge to prep your walls quickly and correctly. But maybe you’re looking at a whole house that needs painting, or you’re facing wall conditions that need expert attention.
The painters at West Rivers Painting have prepped and painted thousands of walls. We know which problems need professional solutions and which ones you can handle yourself. We’re honest about what your project requires because our reputation depends on delivering results that last.
Call 541-419-3912 today for a free consultation. We’ll walk through your space, explain exactly what your walls need, and provide a detailed quote with no pressure to sign. You’ll get straight answers about whether DIY prep makes sense for your situation or if professional help will save you time and money in the long run.
Your walls deserve paint that looks great and lasts. Let’s talk about how to make that happen.
